It probably comes as no surprise to you, I love having pretty surfaces to take photos of my crafts, recipes, and other little tidbits... while my house has a few counter tops, I'll admit they aren't the most beautiful so I've had to resort to getting crafty to make beautiful backdrops for my photos. As you've probably noticed if you look at the photos here, I've had an old light wooden board for a while now... but recently I decided I want to "upgrade" to something more fitting for fall and decided to make a new photo backdrop with dark "wood", but this time I want to share
how I made it in case you want to make one too!
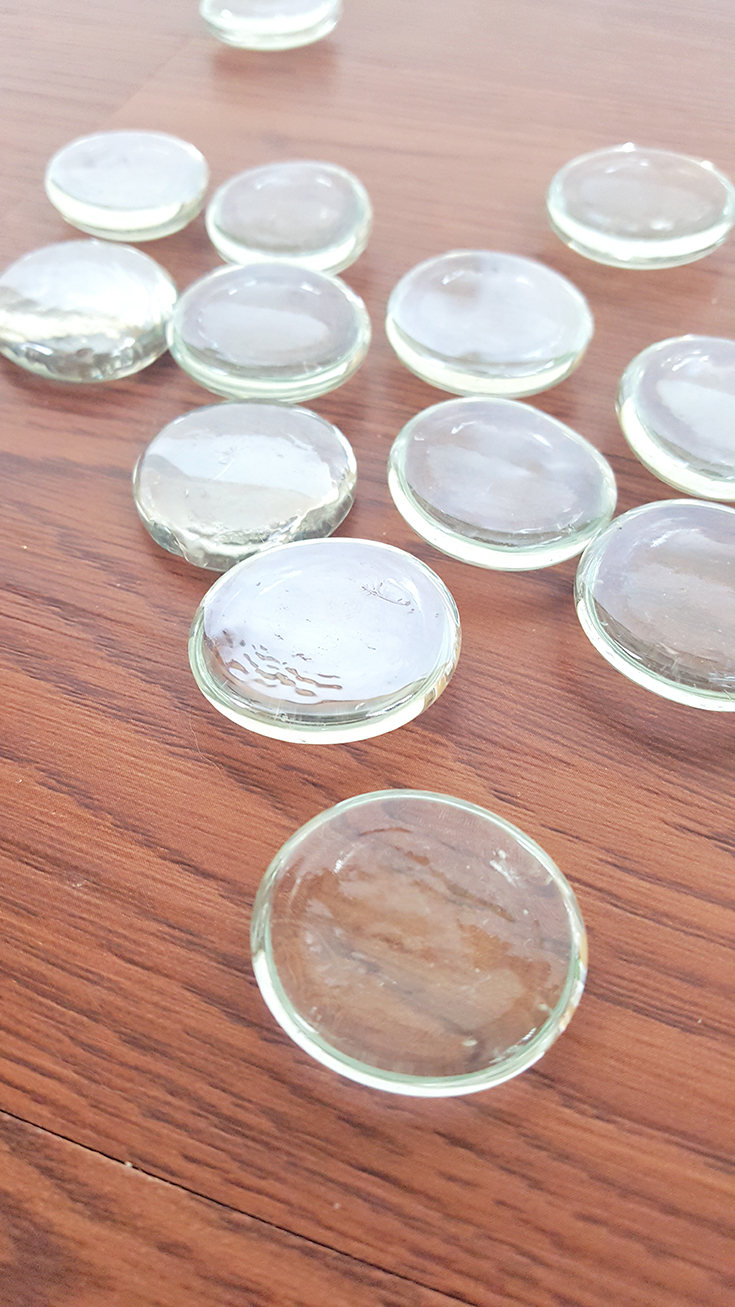
The last time I made one of these boards, I did it blindly and spent WAY too much on materials. I bought everything from Michael's and while I love the store, their wooden boards are too expensive without a coupon. I still get my thick white poster board from Michael's and I always, always, always shop for props while I'm there... I mean you never know when you'll need a gold charger plate or clear "gems".
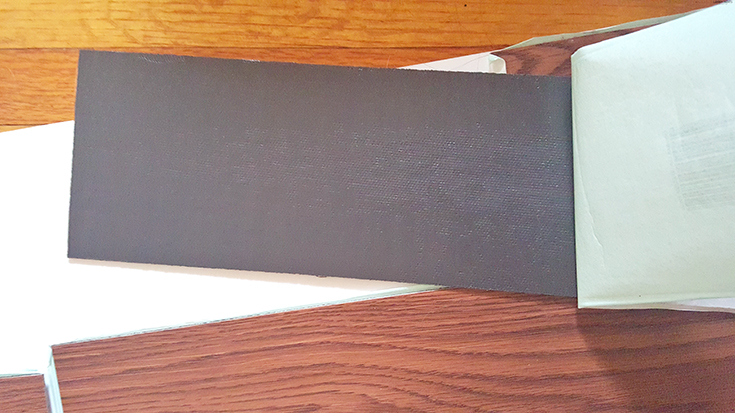
This time I bought my "wooden" boards from Home Depot, but I'm certain you could find them at most big box home improvement stores! I bought a stack of about 8 laminate pieces of wood, to cover the entire board with some staggering. Each board costs about 1/3 less than they do at Michael's
and you don't have to pay for glue because these come with a sticky coating on the back that works like magic!
So once you have those two items and a pair of scissors, you can get down to business making your board. I love that this project is so easy, it's basically like a cut & paste worksheet from elementary school - I want to make a million boards now!
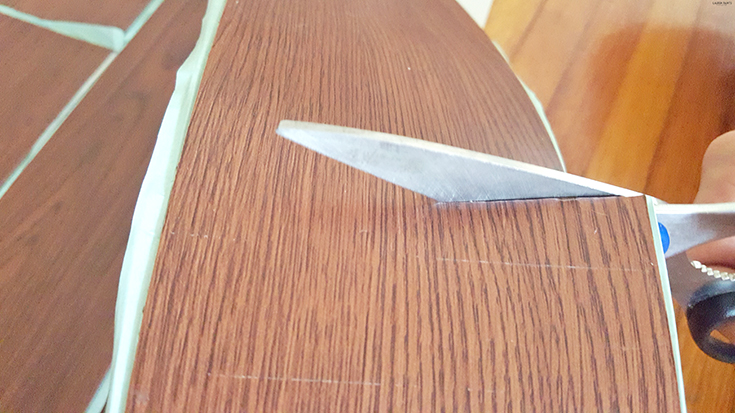
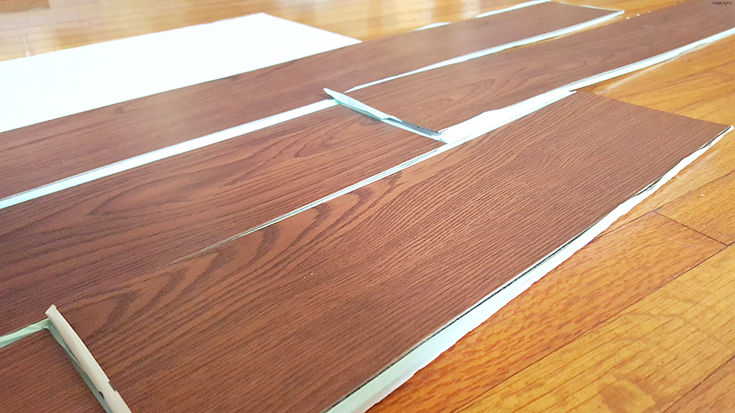
First you'll want to begin by laying your thick poster board flat, then place each plank approximately where you want them to be glued. Begin with the boards cloest to you, trimming the excess off the edges and peeling and sticking each piece.
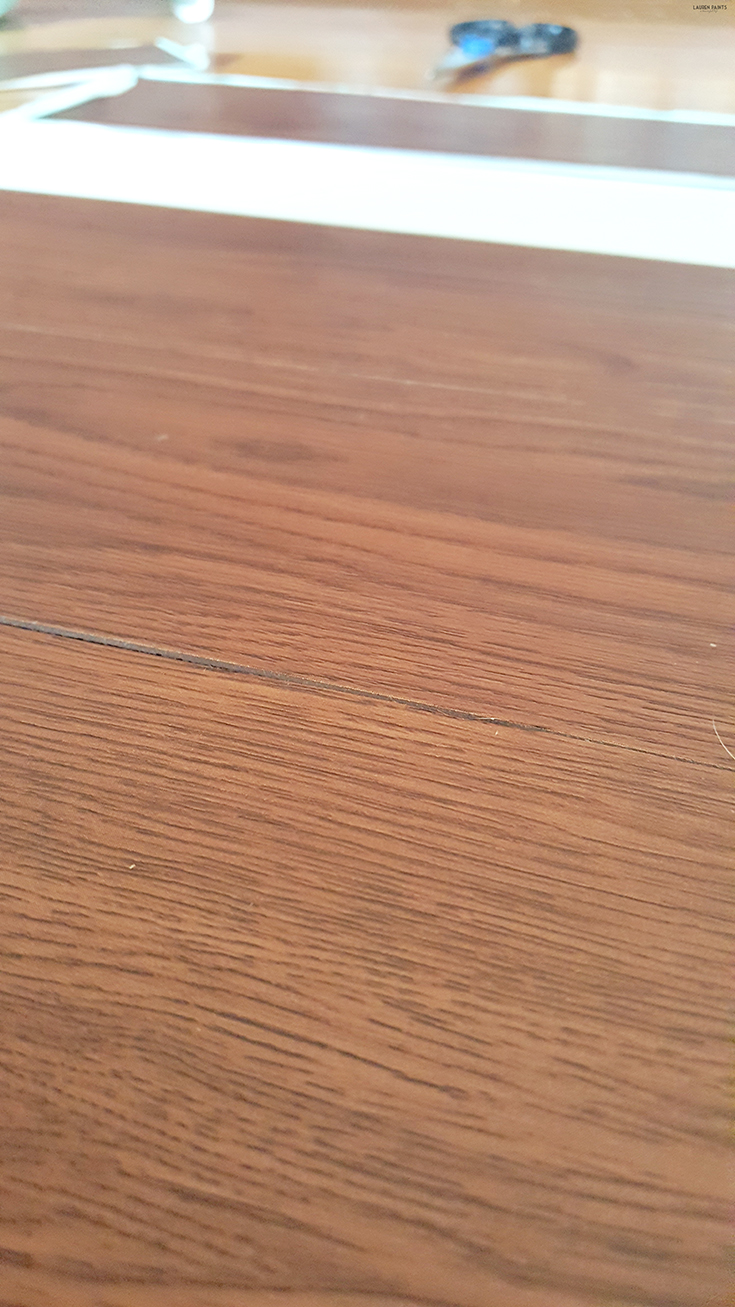
Continue strategically placing each board, using ends of other pieces to fill in the gaps. Laying the board without any gaps or white spots showing and pressing firmly for at least 20 seconds per board.
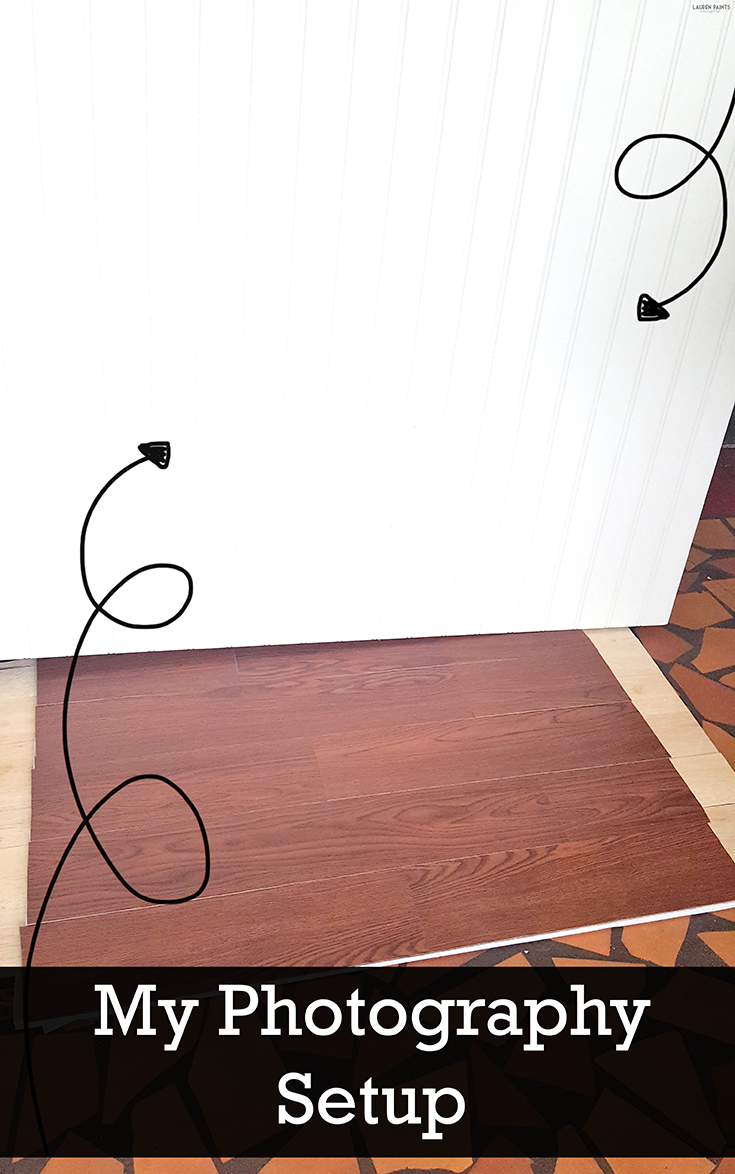
Once completed, make sure to trim to excess off the edges and your new photo prop board is complete! This project can be done, with a store run & all, in less than an hour - it's that easy to have a beautiful backdrop for photos! I set mine up with a gorgeous piece of white bead board and I always have the
perfect spot to capture a photo of anything!
The cool thing about these backdrops is that I can paint them at some point if I want, or they can age just like a wooden floor would... Plus, I see lots of wall hanging projects being made from the backdrops I use real wood on! I love all the different ways I can use these "backdrops" and with the simplicity of this project, there are a TON of possibilities!
So tell me, what's your favorite thing to take pictures of? Do you have a favorite spot in your house to take pictures? I love hearing all about other people's photography habits & styles and I can't wait to hear all about yours in the comments below!




No comments:
Post a Comment
Keep the conversation going... Leave a comment!